Moving up to the North East of England has been a great experience not least because it is a hive of artistic activity up here. Thanks to the work of artists such as Driftworks Tidal Art and Carol Nunan I have discovered a whole new world of mixed media art.
If you have been over at my sister blog Weaver of Words, you will know that printing and publishing has been a long time interest of mine. In the main though, I have concentrated on creating printable images on my PC and then printing then onto a variety of substrates using either Epson or Canon printers. I thought that I had gone as far as I could in my explorations of digital printing and was interested in other forms of printing and print transfer. I have spent some time during Lockdown in the UK using home-made Gesso and transfer glue to transfer images onto wood and onto walls. What I have been looking for, though, is an easy transfer technique for enhancing my travel journals. As a poor drawer I need a technique which does not rely too heavily on good drawing or artistic technique.
The techniques I have been exploring have been screen printing, gelatine plate monotype printing and hectographs (about which, more in another post). The advantage of gelatine plate printing is that it is cheap, easy to do and does not take up a lot of space, It could, at a push, be a portable printing technique. It is easy to create a gelatine plate and they are lightweight and easily transportable. I am not entirely sure how I would get one through airport security but that is a problem for another day.
What is so exciting about gelatine plate printing? Firstly, it is mono printing. This means that the gelatine plate produces one impression on each round on the plate. So, you ink it up, make an impression which takes all or most of the ink off the plate, then you ink the plate up again and take the next impression. You can keep on doing this for as many impressions as you like. Because of the technique every impression and print is going to be unique. The results are also unpredictable. It is a planographic process, which means that it uses a flat surface – the firm gelatine plate.
It is the new big thing in home crafts because it really is simple to do and fairly cheap. The home printer does not need to have expensive machinery, not even a pasta machine, nor expensive paints. All you need is a gelatine plate, a brayer, some paint and paper to print on.
It can be done practically anywhere because you need so few tools. It means the printer does not need to invest in a garden shed or a print studio. It can be done, literally, on a kitchen table or even a work surface.
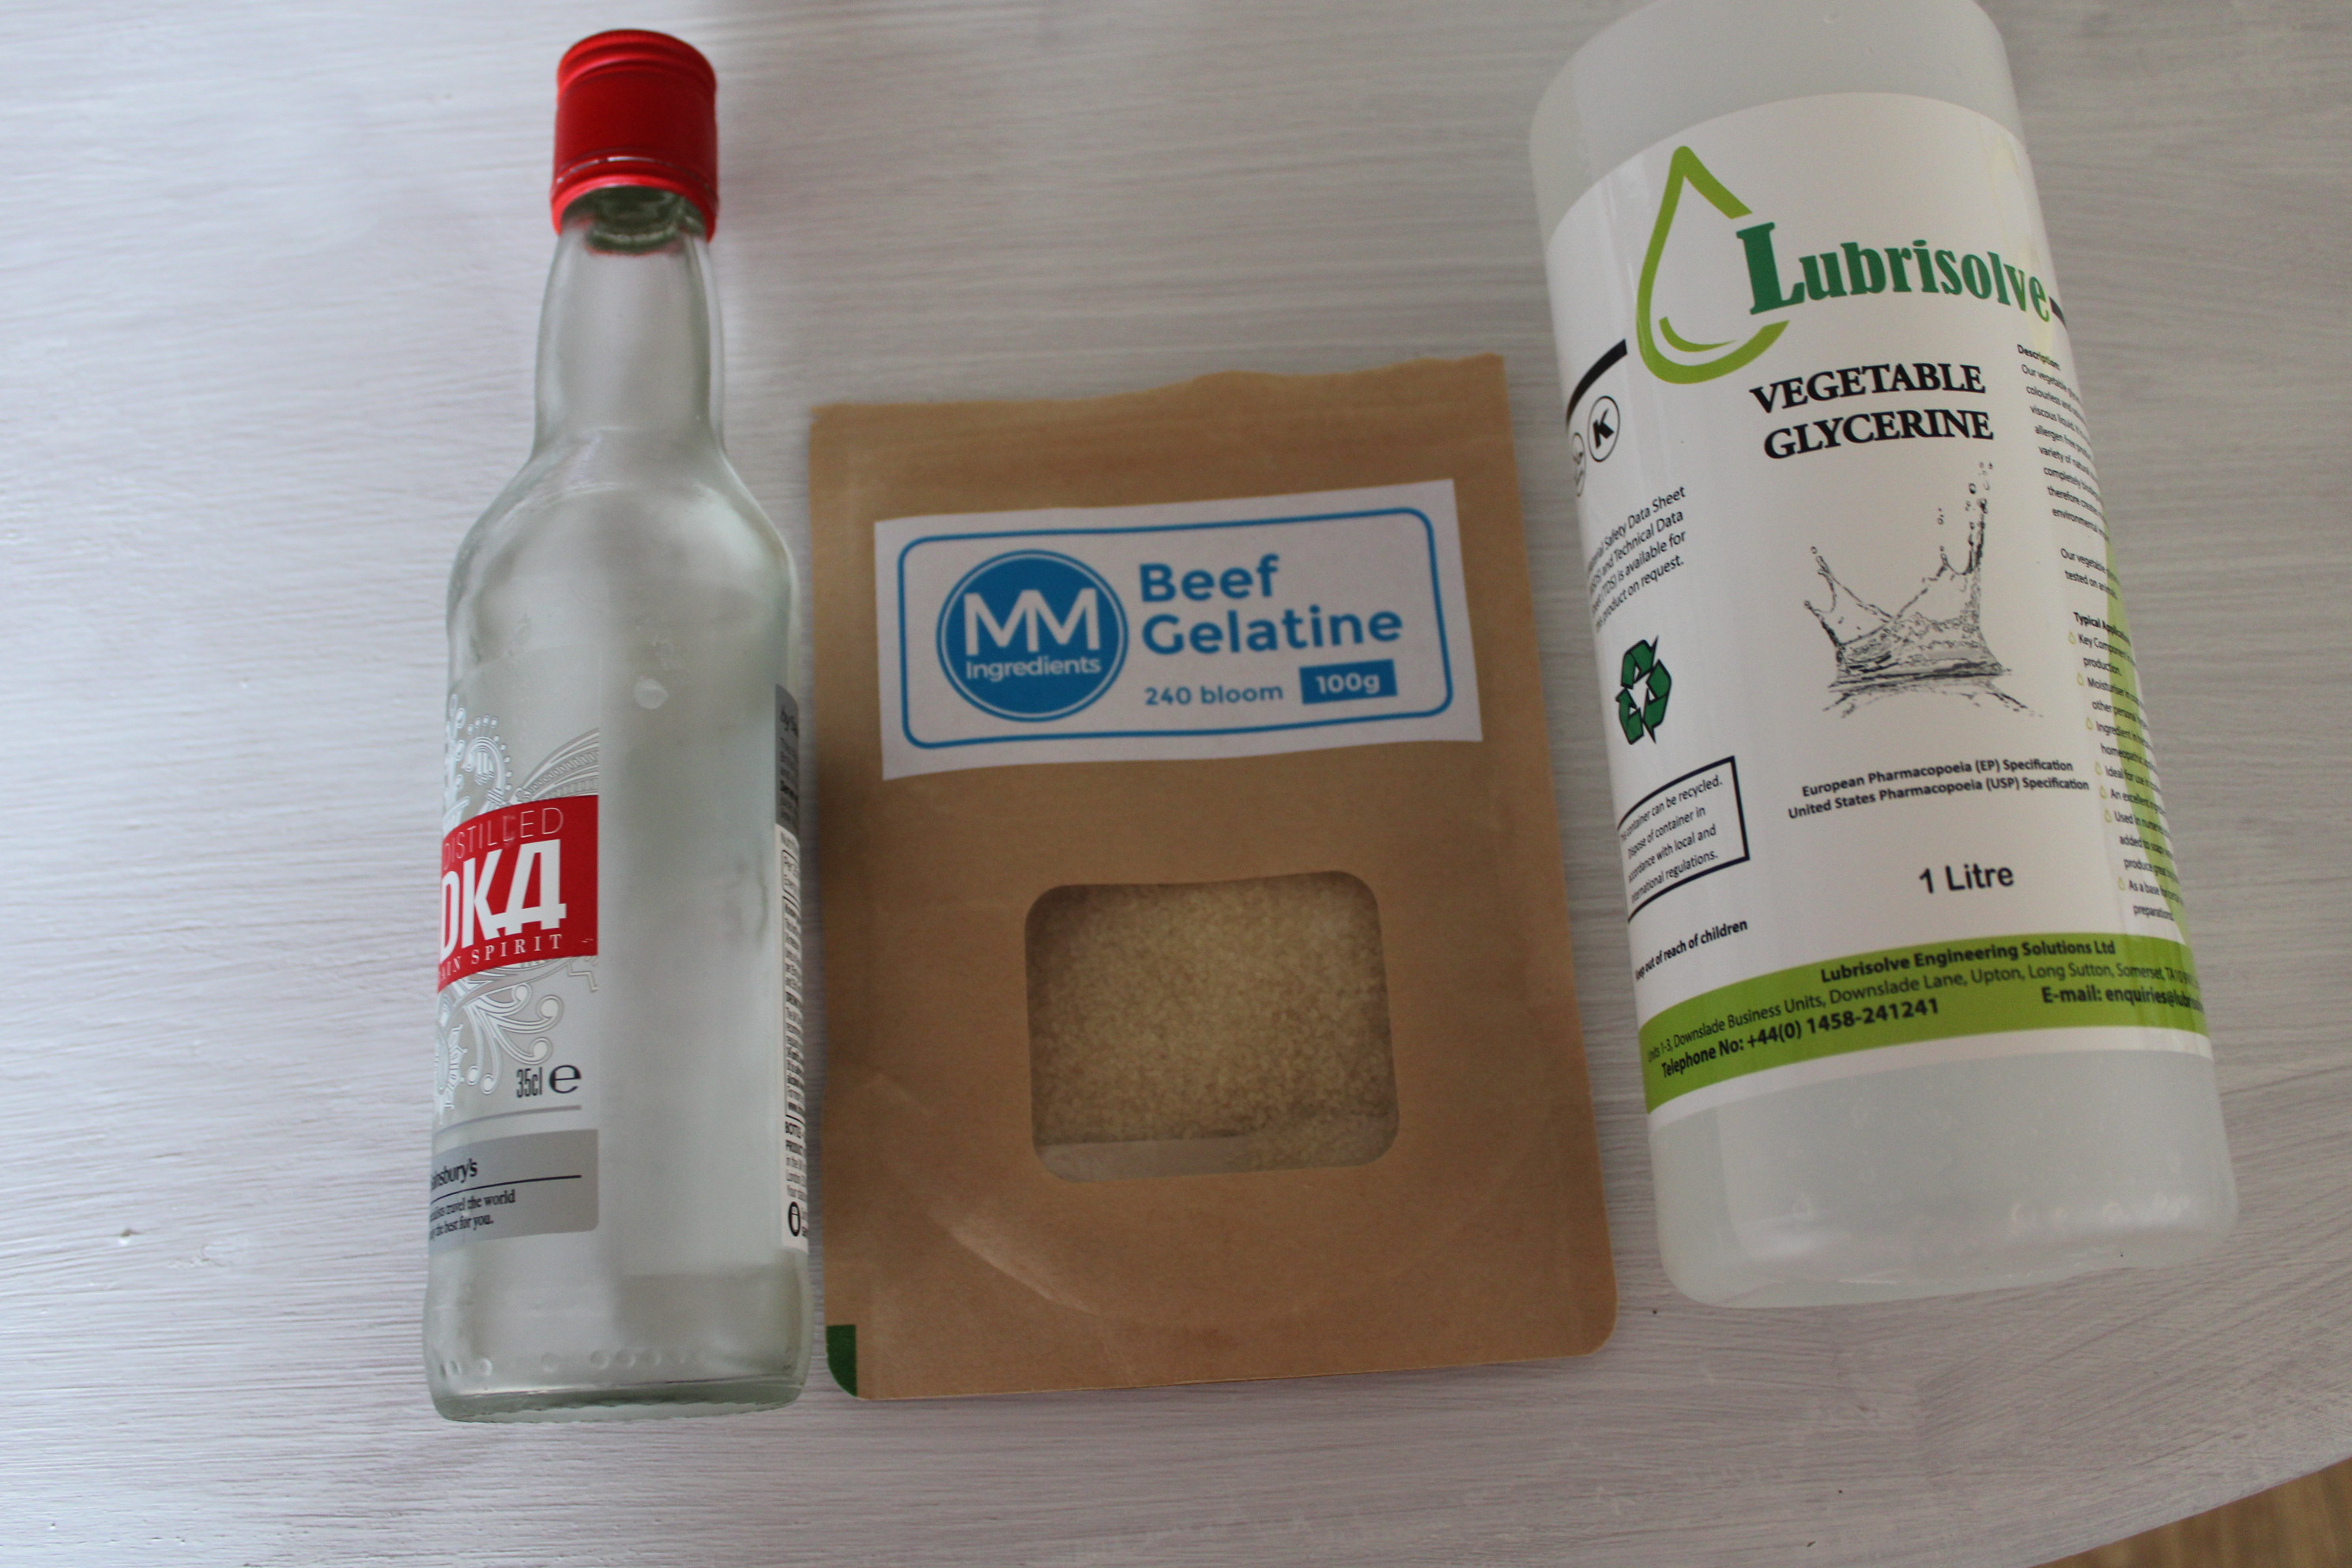
You can buy commercial plates but part of the crafting fun is, I think, making your own equipment if you can. Below is the recipe I used for making my own plate. It turned out a bit brownish because of the beef gelatine.
Directions for making a gelatine plate
To make your own you need:
- A dish or tray such as a roasting tin or biscuit tin
- A kettle
- A measuring jug
- A large bowl
- Weighing scales
- A spatula
- 72 g powdered gelatine (I used beef but you can get other kinds)
- 200 ml liquid glycerine (I used vegetable)
- 265 ml tap water
- A dash of vodka or clear gin (as an extra preservative)
(Recipe adapted from https://slamseysjournal.co.uk/printmaking/monoprinting/how-to-make-a-gelatine-plate-for-printing/)
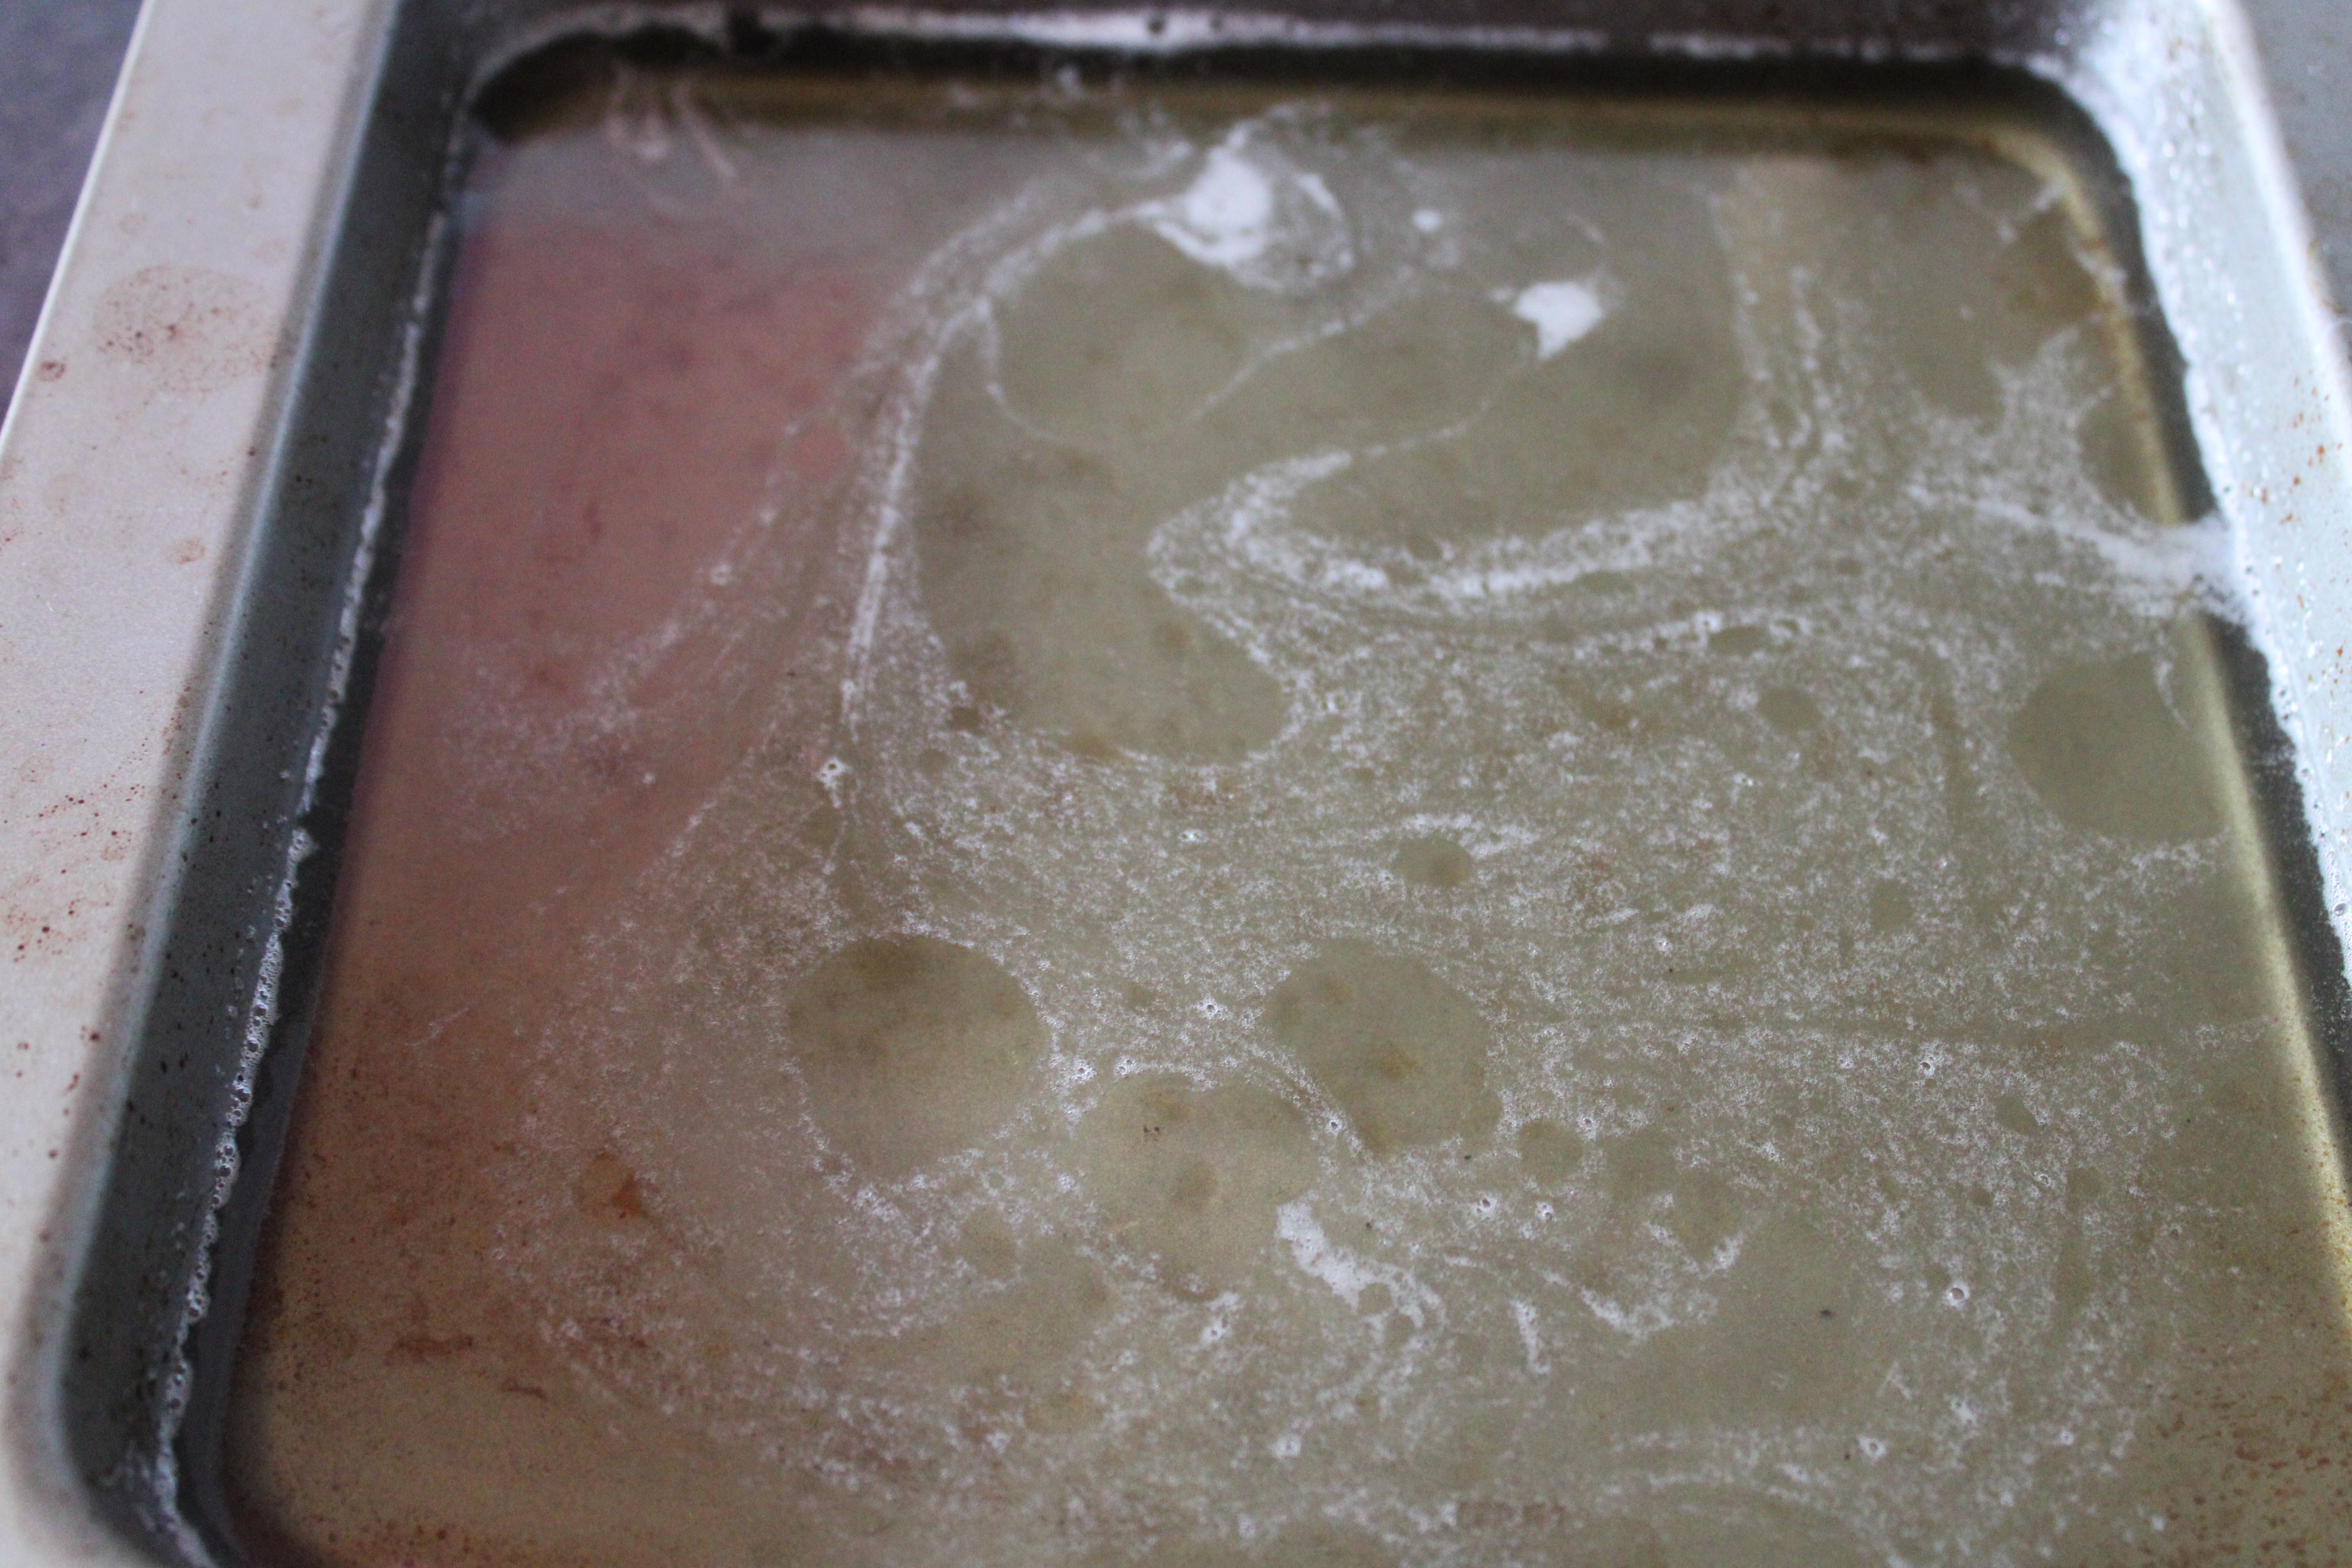
Pour 100 ml of cold water into a bowl with half of the glycerine and mix up until combined. Then, add the gelatine and hot water. Mix until all the gelatine has dissolved. If the gelatine does not completely dissolve you can give it a quick blast in a microwave or create a Bain Marie on the stove with a pan of boiling water and the bowl sitting on top of it. The gelatine needs to dissolve completely, or it will leave lumps in the finished product and you will not have a smooth surface. Leave to cool and firm. If it is lumpy, you can chop it up and melt it in a pan or in a microwave and then do another pour. Some people recommend using strips of newspaper to skim across the top to remove the scum.
The finished result will look something like this:
The finished product should be stored away from heat and it will last a few months. You can then splice it up, reheat it and remould it to use again.
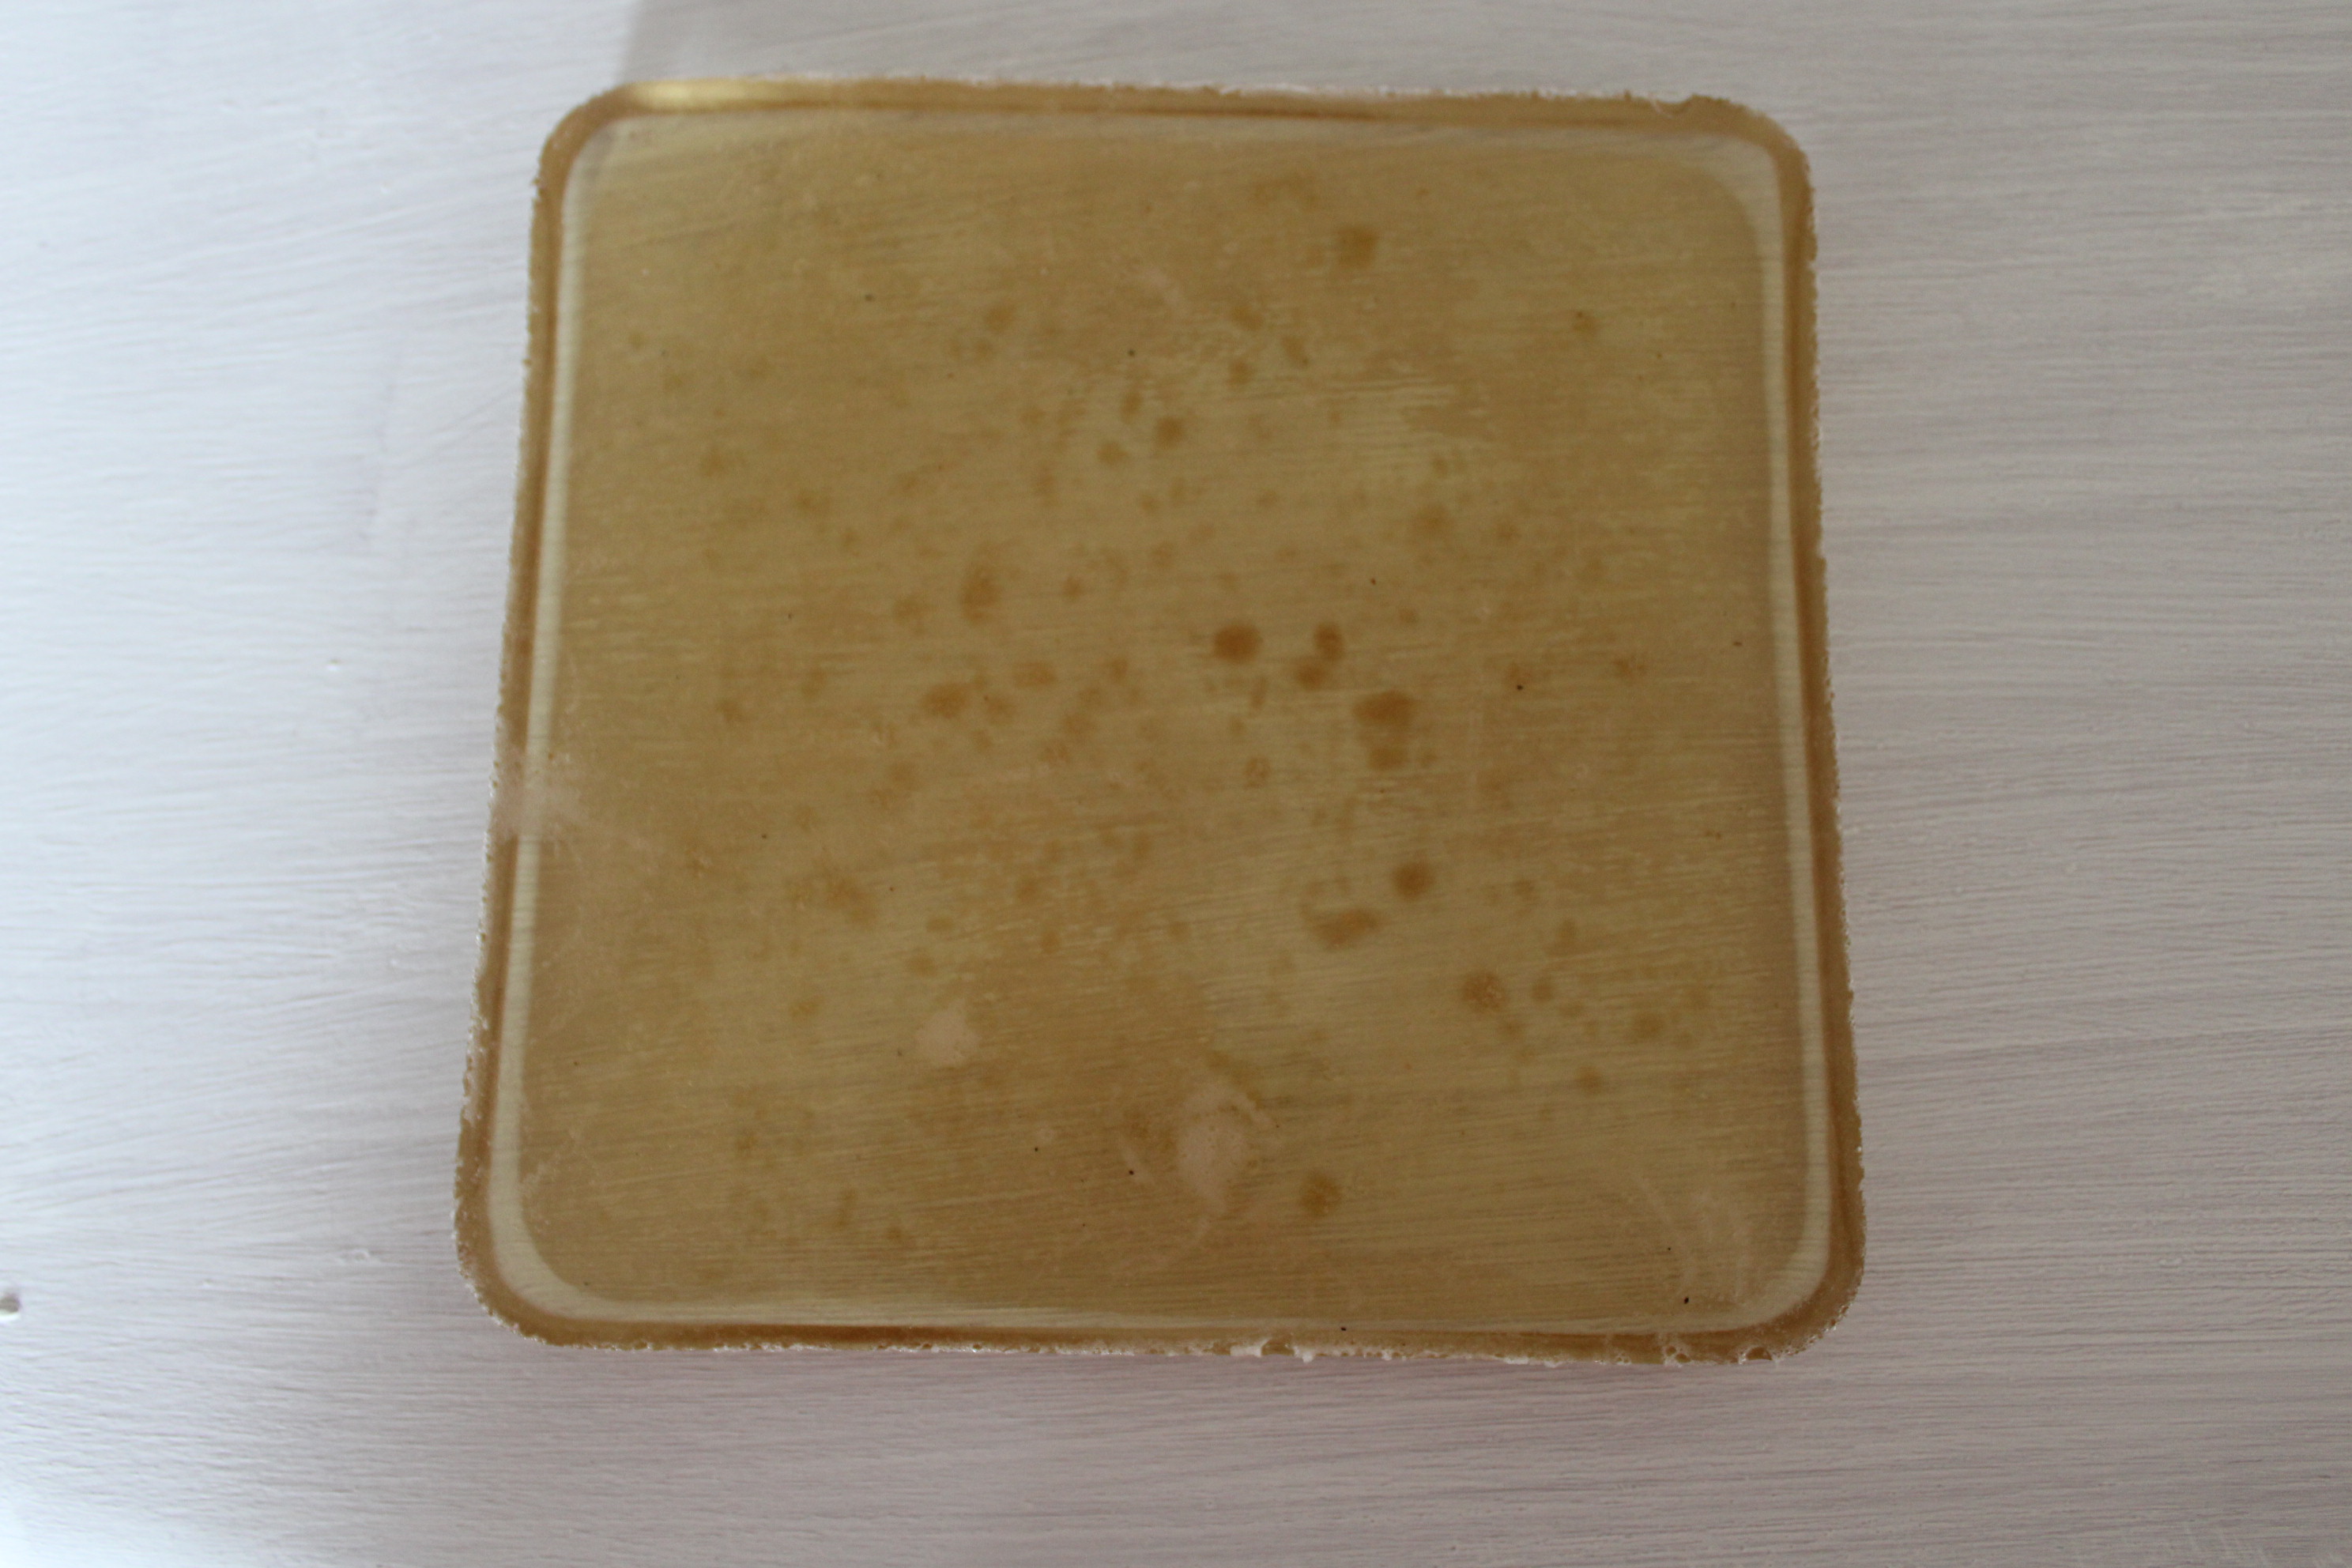
That is the surface on which you put the ink / paint. There are lots of videos on YouTube and various websites showing how to apply the ink (splodges spread out with a brayer).
How do you do it?
Basically you put paint or ink onto the gelatine plate, spread it around and then place a sheet of paper over the top, press the paper down or use a roller / rolling pin, glass bottle to burnish the plate making sure that all the paper receives the colour and then lift up carefully.

Before pressing down the paper you can use different surfaces and stencils to add patterns to paint / ink surface to create different designs. All kinds of things work such as stencils, bubble wrap, string, buttons, wire, feathers, scrunched up silver foil, combs and so on.
You can receive the paint / ink onto craft paper, copy paper, mixed media art paper, hand-made paper, tissue paper, drawing paper, kitchen roll, newsprint (unused or printed on), book leaves, fabric, doilies, greeting card stock, tissue paper etc.
You can mix up techniques such as printing onto copier paper or card using the gelatine plate, letting the paint dry and then running it through a printer and printing a digital print on top (or the other way round).
Mediums
I have bought myself a stack of acrylic paint tubes which seem to be going cheap at the moment. I have seen videos in which the artists have used make up powder (eye shadow), watercolour paints, specialist printing inks and so on. I guess you have a go and see what you like and there’s nothing to say you can’t mix and match.
There is a wonderful post here on how to print with this technique
https://www.jacksonsart.com/blog/2016/08/17/gelatin-printing-with-schmincke-aqua-linoprint-colours/